- info@zusto.com
- Free shipment from €50 (Belgium & Netherlands)
- Secure payment
- 100% happiness guarantee
No products in the cart.
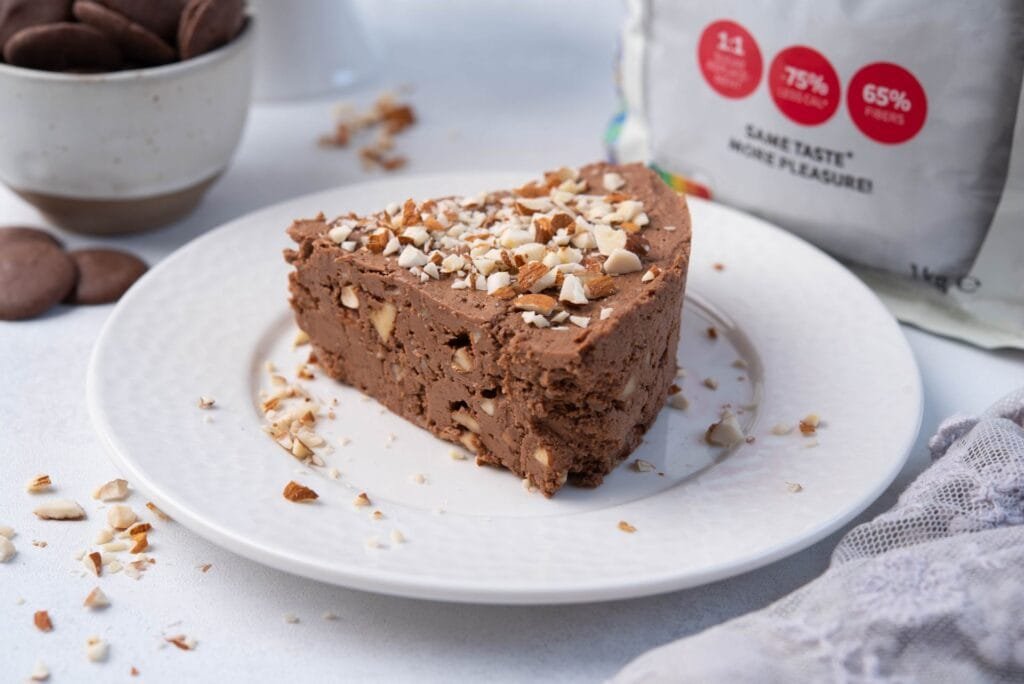
A Fault Line what?! Don’t worry, I’d never heard of it either… I saw the concept on Pinterest but I didn’t know the ‘thing’ had a name. Apparently it’s called a fault line cake! A fault line is also known as a fracture line. So does that help you understand it any better? The cake looks like it has fractured/cracked open, allowing all kinds of glitter to come out of it. I painted the edges of the fault line with edible paint, so you notice the line even more.
1 day 40 min
16 slices
Hard


Share your end result with the hashtag #zusto. We regularly post fun pictures of our customers on our social media.
© ZUSTO 2026 | ZUSTO NV/SA
www.zusto.com | info@zusto.com

For the cake
For the Swiss buttercream
Putting together the cake
Would you like a rainbow on the cake as a cake topper? Then you will have to make sure you do this a day in advance.
Once the cakes have completely cooled, cut them in half (if the top has risen into a mound, cut it off so that you have ‘flat’ surfaces).
Make sure that you start stacking the cakes on a surface that you want to use for serving the cake (I use a cardboard cake board for this). This is important, because it will be difficult to move the cake around afterwards. First of all, spread a dollop of buttercream on the cake board and then place one of the cakes on top. Now spread a layer of buttercream between the cakes. Tip: use a cake bottom at the end (that way the top of your cake is flat). ‘Plaster’ the edges of the cake using a palette knife until they are smooth and you have a ‘naked’ cake. It’s called a crumb-free surface. Now place the cake in the refrigerator for 30 mins. You can also put the buttercream in the fridge along with the cake for 30 minutes, but make sure you don’t leave it in there for too long. If you do, it’s likely to become too hard and you will have to wait again (a long time!) before it softens enough to use for decorating.
Next, you’re going to frost the cake.
Then finish the cake with a cake topper, if you wish. Place in the refrigerator for at least 4 more hours before serving.
To be added soon.

Hi, I’m Yasmine from the pastry blog Tartes Yaya. As well as running my blog, I work full time as an IT project manager. Baking is my creative outlet, but I also enjoy sports (jogging, hiking, aerial dance and horse riding).
I’m mum to an 8 year old boy, Ilyas, and a 6 year old girl, Fatou. In August 2018, Ilyas was diagnosed with type 1 diabetes (an autoimmune disease that is not caused by eating too much sugar… just to clarify that! ;)).Even though a type 1 diabetic can eat whatever they want and don’t have to follow a special diet, their body has greater difficulty in processing real sugars because the body is not able to produce insulin itself or manage insulin spikes properly.
My son’s diabetes led me to discover Zùsto and since then, Zùsto has been my favourite sugar substitute!
© Copyright 2017 – 2026 | Zùsto NV/SA | Terms and Conditions | Privacy & Cookies | Press | Webshop by Kreatix.be
© Copyright 2017 – 2026 | Zùsto NV/SA
Terms and Conditions | Privacy & Cookies | Press
Webshop by Kreatix.be